
For help on part 1, leave a comment on this blog post : http://www.vdategames.com/wordpress/?p=183
TUTORIAL 1 : INTRODUCTION & IMAGES
Over the several years that I've now been making these games, one regular email I still get is people asking how I make them. It's usually specifically how I make the images, but I feel that it's time to explain the whole game making process.
I am therefore putting together a series of 5 tutorials which will guide you through the entire process. If you are interested in making games similar to those on the site, you should be able to by the time we get to the end.
There will be five tutorials altogether :
1 : Introduction & images
2 : Planning
3 : Advanced images
4 : Coding
5 : Things to think about
Overview
The games on VDG have two main parts. The graphics (images) and the code. Find a downloaded game and have a look through the folders inside of it. For these tutorials I will be using Lisette as the main example.
In Lisette, look inside the folder named game. You should see a long list of files which end in html. These are all the 'pages' in the game. In game, whenever you see a new image, it is mounted into one of these. These are where all the codes for each action go.
Now open the folder named images. These are all obviously where all the images displayed in game are kept. The html files working with the images are what make the game.
Other things you will see are a folder named buttonsetc, and some other files next to the html ones which end in '.js' and .css'. buttonsetc is where the icons for the game are all stored. I've found it easier to keep them separate from the main images of the game. Do not worry about the files js and css files. You will probably never need to touch them unless you want to do something very different from the games here.
Software
To make these games will require specific software. Sadly, you will need a little bit of money. A minimun of $10. If you are serious about making these games, you will need at least around $50. In fact, I would suggest having closer to $100 to play with if you can. I'll mention every way possible to save money though.
The first software you will need to begin creating images is free however. It is called daz studio. Get it here : http://www.daz3d.com/products/daz-studio/daz-studio-what-is-daz-studio
You will need to create a free account with daz3d.com, but the software's worth it.
Note : sometimes daz3d charges money for the software, and sometimes they don't. If it is currently a time period where they are, have a look around the site as there may be an older version of it for free. If you don't intend to follow this tutorial now, but hope to in the future, I would still recommend downloading this software now while it's free.
It is also worth noting that, although I'm using it in this tutorial, I don't actually use daz studio to create my images. I am simply using it because it is normally free.
I use a software called poser, which can be found here : http://poser.smithmicro.com/buy.html
In my opinion, poser produces better looking images, but it's often debated on forum which one is better. If you have the money, feel free to go with poser instead, those these tutorials will still be designed for daz studio.
Images
Since I know the first thing most of you will want to make are images, lets get straight on with it and make one. Let's make a woman!
The way daz or poser works is that you get a 'base figure' then you alter this base figure to a more individual look. This is the part where you need to spend money no matter what. However you have two choices.
Option 1 : Victoria 4 base
http://www.daz3d.com/victoria-4-2-base
The Victoria 4 (or simply V4) model is by far the most popular model for artists to use. She looks fairly realistic without also looking a bit cartoony. She also has the most amount of characters you apply and outfits to dress her in.
The V4 is the base for most of my models, including Crystal, Rachel, Maddison, Kelly and Lisette.
The slight downside is that she costs $30. As with daz studio, there are short periods of time where she is free. If she isn't and you don't have that much money to spend, there is a cheaper option...
Option 2 : Victoria 3 base
http://www.daz3d.com/victoria-3-0-base
If you check the link, you will see this one is much cheaper, normally around $10.
The downside is that she doesn't look as realistic. You will also find fewer options for clothing, skin textures etc.
You may find the V3 adequate though, so if you like her and the cheaper option, go ahead and get her.
VDG characters which use the V3 base are Lucy, Evana and Latricia.
Once you've decided, go ahead and buy it.
Installing the base should be easy. Just follow the installer instructions.
If your base did not come with an installer, don't worry. Inside the zip you got instead, find the folder named runtime. You then need to find the runtime folder in your daz3d folder. IT will be somewhere like C:\program files\daz3d\mylibrary\ runtime. Now merge the two runtime folders. If you don't know what I mean by that, just click, drag and drop the runtime folder in the zip, into the same place as the other one. Windows will ask if you want to merge them, and you click yes.
Now open up daz studio. The first thing you should see is a box saying something like "start learning now!". Feel free to follow it's instructions in order to get to know the software a little better, or just close it and we'll continue.
On the top left you will see big tabs. The leftmost should say "Actors, Wardrobe & Props". Click it.
Now on the right of your screen, you should see something called content library. If you don't, click the tab to open it.
In the top right of the software you should now see of folders you can browse with the software with things like "DAZ studio formats" "products" and "categories". Click Poser formats, then My library, figures, and finally daz people. A big icon saying Victoria 4.2 should now appear in the grey box below. Double click the icon.
It may be possible that the V4 base in in a slightly different folder for you. Just keep exploring the content library and you'll find it eventually.
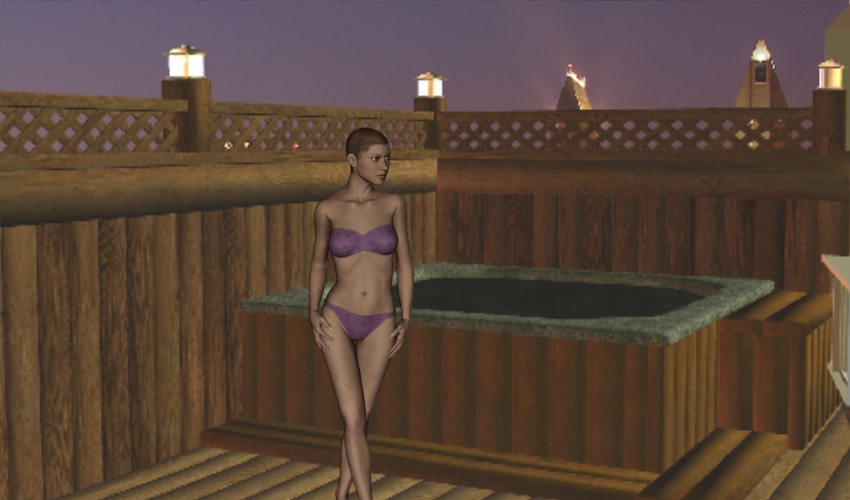
Your screen should now look something like this :

You now have an empty scene with a blank V4 model.
In the top right, you should see a folder named "pose" right under the one named "figures" you just clicked.
Click it, then "DAZ's Victoria 4", then "General poses". What you should now see are the basic set of poses that come with them model. Double click any of them to make your model do the pose.
Now let's add a background. Take this image and place it on your desktop or somewhere else convenient:
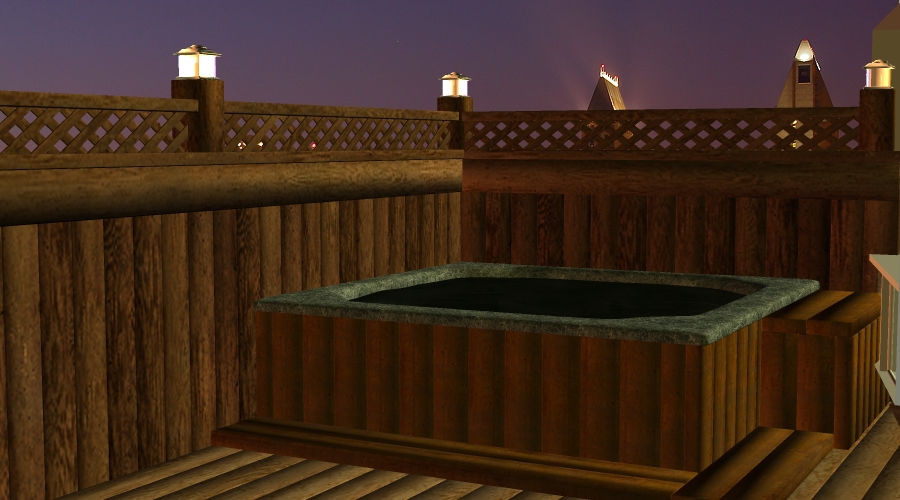
Now, in daz studio, click edit in the top left, then backdrop. In the box that appears, click the top button, then browse. Browse to the image on the desktop, double click and it should appear in scene. Then click accept.
The background might now look a little weird and stretched. If it is, go to the top left again, click Render, then render settings. On the box that appears, untick Constrain Proportions. Then in the two white boxes along from the word pixels, change the numbers to 850 x 500. Everything should now fit, so close the grey box with the x in the top right.
Now, take a moment to reposition the V4 model. In the top right of the workspace view, you should see a small group of icons. Play around with them until your model is in a better position.
If you click on the cube and rotate, the camera angle will change. Use the magnifying glass icon to zoom in and out. Use the icon with four small arrows to move the camera up and down etc.
When you are happy with the position, click the big tab that says Render near the top of the screen.
See the big green button saying Render? Click it. After a few moments a box should display showing your finished image. It probably won't look that good, but remember, this is your first ever image. Advanced image settings will be tutorial number 3.
Enter a name for your image in the white box. I also recommend changing the format setting to ".jpg" (it probably says ".png" right now). Now click save. You just officially made your first image.
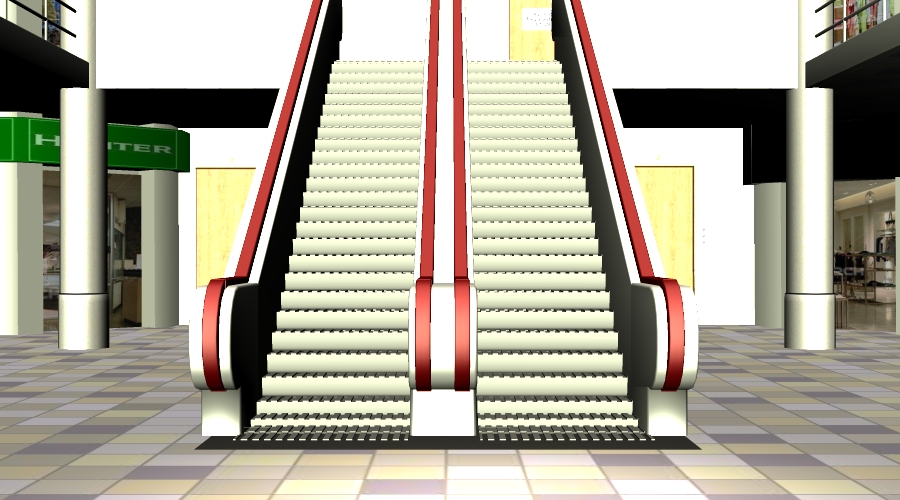
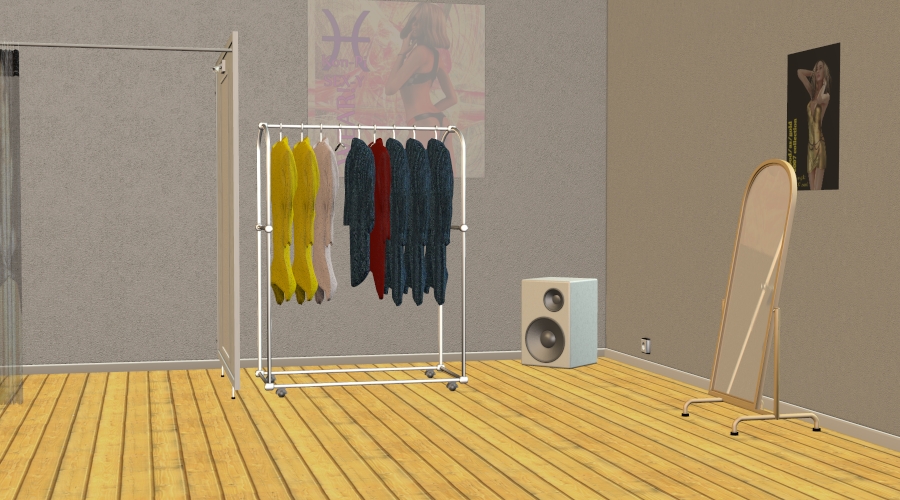
Here's a set of other background images :
Your homework is to create other images using these. Experiment with other poses and camera positions.
If you're feeling confident, try playing around with some lights as well. On the "Lights & Cameras" tab, click create, then new point light. Position the light and create more than one for better looking images. Then try creating other light types.
That's all for part one. Next time, we'll be planning a game together and talking about the logistics of game design.